
What if you could build an entire business “operating system” with no code? For small business owners, freelancers, operations managers, and other non-technical professionals, that vision is now a reality. By combining Zapier – the popular no-code automation platform – with Kimi AI – a powerful AI assistant – you can automate tasks across content creation, email, CRM, project management, and more.
This duo empowers you to orchestrate complex workflows (your own business OS) without writing a single line of code. Zapier connects over 8,000 apps, and Kimi injects intelligent automation (like content generation and decision-making) into the mix. The result? Dramatically boosted productivity and consistency, even if you’re not a developer.
In this comprehensive guide, we’ll break down practical use cases for Kimi + Zapier, walk through step-by-step examples, discuss pricing and integration limitations, and highlight the top apps you should connect.
By the end, you’ll see how anyone can leverage Kimi + Zapier to automate workflows that save time, reduce manual work, and scale business processes – all in a business-technical style that’s persuasive yet easy to follow. Let’s dive in!
High-Impact Use Cases for Kimi + Zapier Automation
The combination of Kimi’s AI capabilities and Zapier’s connectivity opens up countless automation possibilities. Below are some of the most valuable use cases – each a real-world scenario where you can let Zapier handle the “when/where” and Kimi handle the “what/how” (the intelligent content or decision). We focus on use cases that don’t require coding, showing how you can automate the core of your business operations:
1. Content Generation Workflows (Blog posts, Emails, and More)
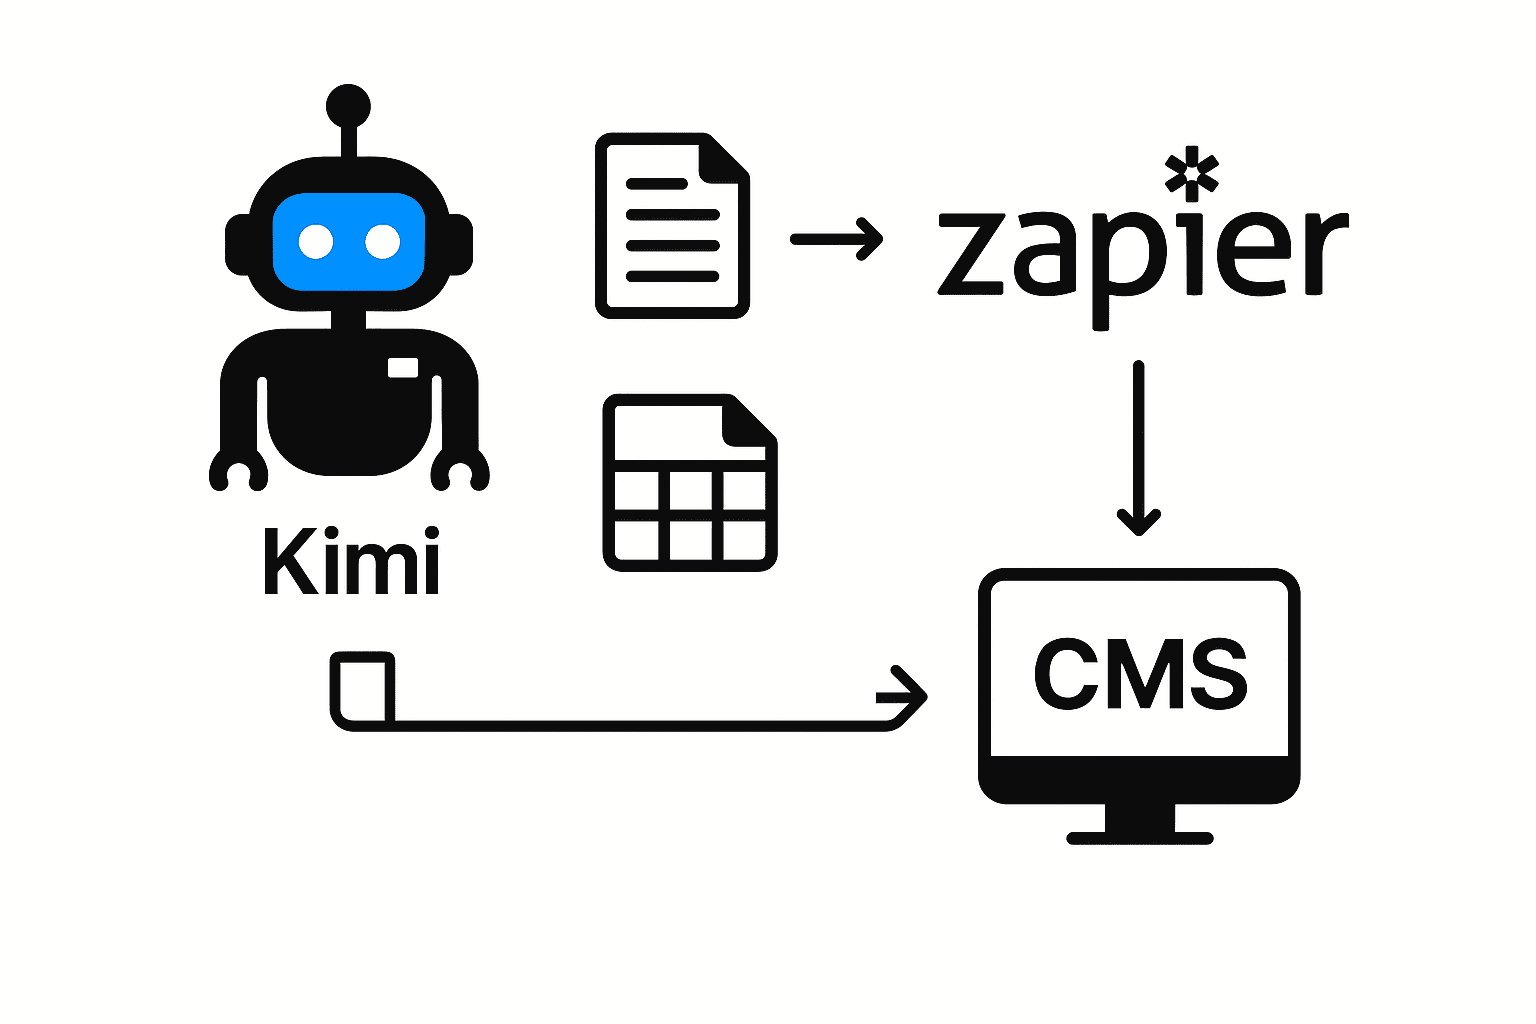
Automate content creation and copywriting tasks. Kimi can generate text based on prompts or data, and Zapier can route that content wherever it’s needed. For example, you might maintain a content ideas Google Sheet and use a Zap such that whenever a new row is added (with a blog topic or email outline), Kimi generates a first draft of the content, which Zapier then sends to Google Docs or your CMS for review.
Marketers are already doing similar automations – e.g. using Zapier to trigger Kimi to create social media posts whenever a new event is added to a spreadsheet, then queuing those posts in Buffer or Hootsuite for publishing. You could also automatically draft outreach emails or proposals: when a new lead is added in your CRM, Zapier passes the details to Kimi, which writes a personalized email or proposal text, and then Zapier emails it out or logs it for approval. These content generation workflows save enormous time on writing tasks while ensuring consistency in tone and quality.
2. CRM Updates and Data Entry (Intelligent CRM Automation)
Keep your CRM updated without tedious manual data entry. Zapier is often used to move data into CRMs like HubSpot, Salesforce, or Pipedrive – Kimi can make those updates smarter. For instance, when a new lead comes in (via a web form or spreadsheet), you can have Kimi analyze or enrich the data before it goes into your CRM. A Zap can be set up such that a Form Submission triggers Kimi to summarize or qualify the lead, then create a CRM contact with that summary and even post a Slack notification to your sales team with key insights. This turns raw inputs into useful info without human effort.
Kimi could also score leads (e.g. analyzing a lead’s company description or social profile text to gauge fit) and have Zapier update a “Lead Score” field accordingly. If you’re aggregating data, Kimi can parse and clean it: imagine a Zap that takes new customer feedback, asks Kimi to extract sentiment or key points, then logs those to your CRM or Airtable. By automating CRM updates and data entry through Kimi, data stays organized and actionable – no more backlog of unentered notes or inconsistent info across systems.
3. Email Handling and Auto-Responses
Respond to emails faster and categorize incoming messages automatically. Many businesses spend hours every day on routine emails – Kimi + Zapier can cut that down dramatically. A typical workflow: a “New Email” trigger in Gmail (or Outlook) fires when a message arrives in a certain inbox or with a certain label. Zapier then sends the email content to Kimi, which can analyze or categorize it and even draft a reply. For example, Kimi might determine if an email is a sales inquiry, a support request, or spam, and produce an appropriate response or recommended action.
The Zap can then automatically send an email reply (via Gmail’s “Send Email” action) using Kimi’s generated text – perhaps after a quick human review, or immediately if it’s a simple FAQ. Companies have used similar setups for customer messages: some teams funnel incoming direct messages or emails to Kimi and have it propose immediate personalized replies. With careful setup, you can achieve near-instant email replies 24/7, ensuring customers or partners get timely answers.
(Tip: Start with semi-automated mode – e.g. have Kimi’s draft go to a Google Doc or Slack channel for approval – then fully automate once you trust the quality.)
This not only saves time, but also helps teams maintain more consistent and timely responses. In practice, automating parts of customer support workflows can improve response efficiency and contribute to a smoother support experience for both teams and users.
4. Task and Project Management Automation
Streamline your task workflows in tools like Notion, ClickUp, Trello, or Asana. Zapier can connect project management apps to all your other systems, and Kimi can generate or update task content intelligently. Imagine automatically creating tasks from form submissions or emails: a new Typeform entry (like a client request) triggers Kimi to generate a task description and due date suggestion, then Zapier creates a task in ClickUp (or Notion, Trello, etc.) with those details.
You could also automate status updates and reports: e.g. every Friday, have Zapier gather data from a project tracker (or time logs), feed it to Kimi to produce a project status summary, and then post that summary to a Notion page or Slack channel for the team. Another use: meeting notes to tasks – when you add a new meeting notes doc, Kimi can parse out action items and Zapier can create tasks for each in your PM tool. Essentially, Kimi serves as a smart “operations assistant” that translates raw inputs into structured tasks. This ensures nothing falls through the cracks and team members always have clear, written to-dos without someone manually writing them up.
5. Lead Qualification & Scoring
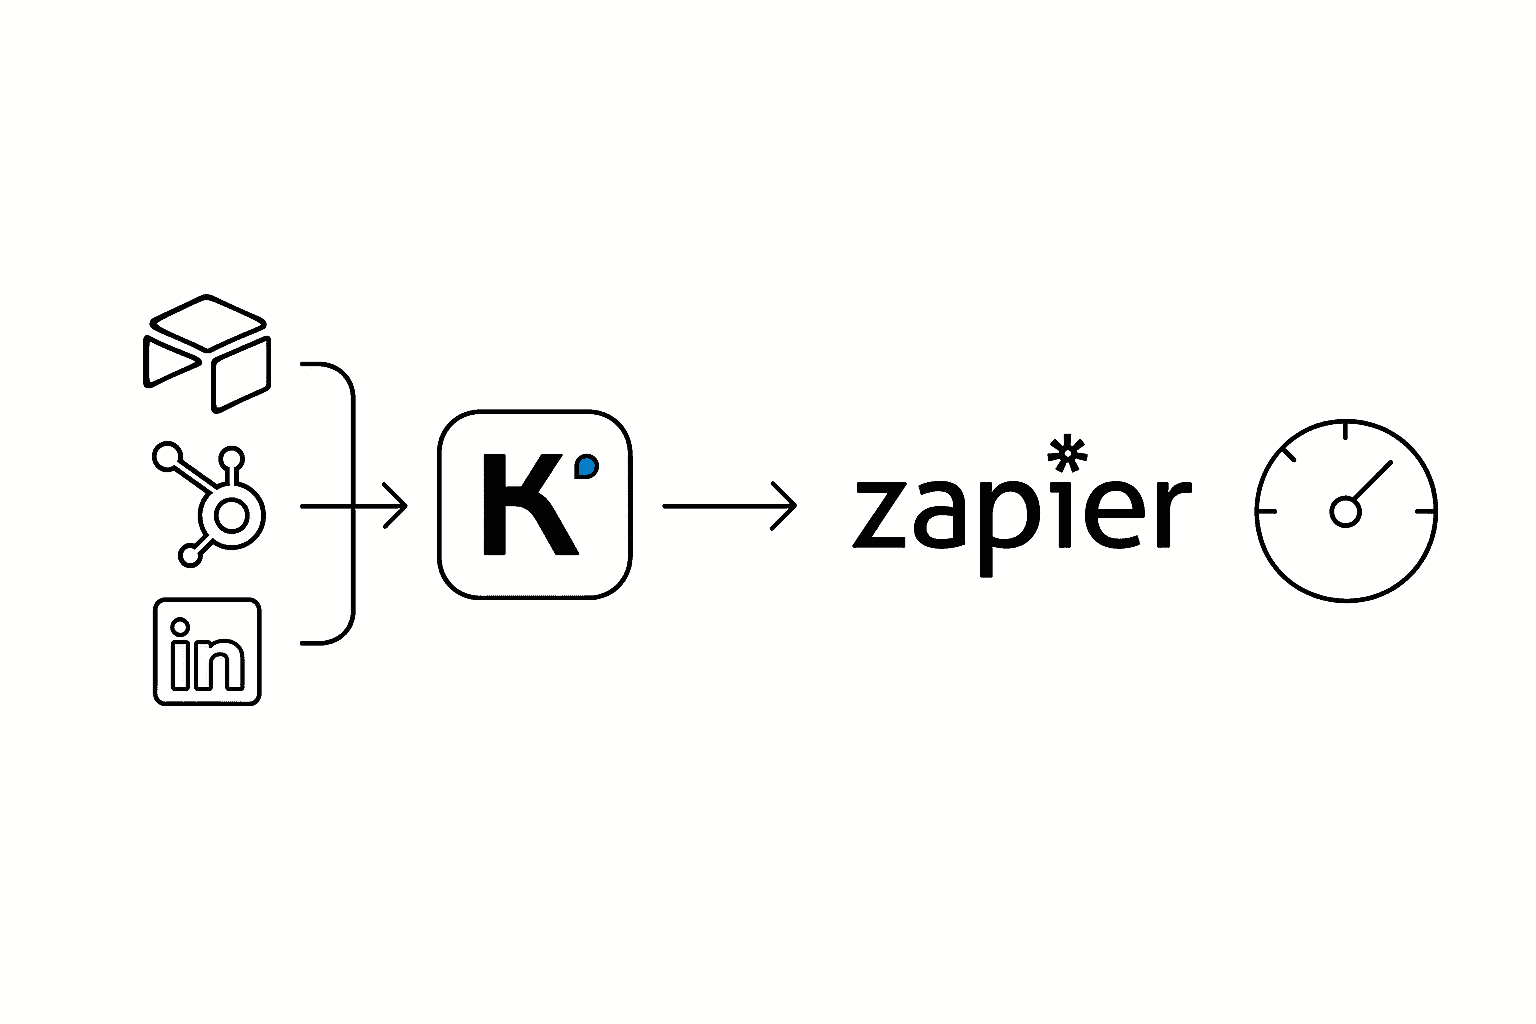
Automatically qualify leads and opportunities with AI analysis. If your business collects leads (via web forms, LinkedIn, or marketing campaigns), Kimi + Zapier can help you separate the signal from the noise instantly. For example, a new lead entry in Airtable or HubSpot could trigger Kimi to analyze the lead’s details (company size, job title, message content) and produce a lead score or qualification summary. Zapier can then update the lead’s record with that score and even route high-quality leads to a different pipeline or notify a salesperson via email/Slack. You can also have Kimi categorize the lead’s needs or potential value: e.g. “hot lead – interested in enterprise plan, follow up ASAP” versus “informational inquiry, send brochure”.
This type of automation ensures your sales team focuses on the best opportunities first. It’s like having a virtual SDR (sales development rep) triaging leads as they come in. Over time, you can refine Kimi’s prompts to improve accuracy (for instance, providing examples of what constitutes a high versus low quality lead). The benefit is faster follow-ups on the most promising leads and a more efficient sales process, all on autopilot.
6. Customer Support Auto-Responses and Ticket Handling
Deliver instant support answers and triage tickets without human intervention. With Zapier, you can connect channels like Facebook Messenger, Slack, or support ticket systems to Kimi, enabling automated customer support workflows. One powerful setup uses a trigger like “New support message” (from your help desk or Messenger) -> Kimi generates a reply -> send reply back to the customer. In fact, Zapier even provides pre-built templates for this: for instance, a template where a new Facebook Messenger message is picked up, Kimi composes an auto-reply, and then Zapier sends it back via Messenger.
This keeps you effortlessly responsive to customer inquiries even outside business hours. Kimi can handle common FAQs (“Where is my order?”, “What are your prices?”) with consistent, on-brand answers. For more complex issues, Kimi could categorize the ticket (e.g. “billing issue” vs “technical bug”) and escalate it by assigning to the right team or creating a ticket in Jira – ensuring proper routing. By automating first-touch responses, companies lighten the support load on their team. Just be sure to review and refine the AI’s replies periodically for tone and accuracy. When done right, automated support can resolve simple queries instantly and significantly cut down response times (often by 60% or more), all while freeing your support staff to focus on the trickier cases.
Step-by-Step Examples: Kimi + Zapier in Action
To make these use cases more concrete, let’s walk through a few visual workflow examples. These step-by-step scenarios show how a multi-step Zap with Kimi might look. You can follow a similar outline in Zapier’s editor to set up your own automations:
Example 1: Form Submission → Kimi Summary → CRM Update → Slack Alert
Use Case: After someone fills out a form (e.g. a website contact form or Typeform survey), automatically log a summarized record in your CRM and alert your team.
Workflow:
- Trigger: New Form Submission – e.g. a Typeform submission or a Google Form response is received. This starts the Zap.
- Action: Kimi Summarizes the Response – Zapier sends the form data to Kimi (via the Kimiyi AI app). For example, the prompt could be “Summarize this lead’s info and key request in 2 sentences” with the form fields passed in. Kimi’s AI processes the input and returns a concise summary or insight about the submission.
- Action: Create/Update CRM Record – The Zap uses your CRM app (HubSpot, Salesforce, etc.) to create a new contact or lead, inserting the summary from Kimi into a notes field (along with any other relevant info). This means your CRM now has an easy-to-read synopsis of the submission, not just raw data.
- Action: Send Slack Notification – Finally, Zapier posts a message in a Slack channel (or DM) to notify the team. The message might say: “🚀 New Lead: {{name}} – {{Kimi’s summary}}. Check CRM for details.” This real-time alert, enriched with Kimi’s summary, ensures your team can react quickly.
Why it helps: Anyone on your team can grasp the essence of a new form entry at a glance (from Slack or CRM) without sifting through form fields. Important leads or requests get immediate visibility, and no one has to manually re-type info into the CRM or craft a summary – it’s all automated.
Example 2: New Email → Kimi Categorization → Auto-Reply Email
Use Case: Automatically respond to incoming emails (or support tickets) with an AI-generated reply, while categorizing them for follow-up.
Workflow:
- Trigger: New Email in Gmail – e.g. an email to support@yourcompany.com arrives (you could use a Gmail trigger for new emails that match certain criteria or mailbox).
- Action: Kimi Analyzes & Drafts Reply – The Zap sends the email’s subject and body to Kimi. Depending on your needs, Kimi could do a few things here: (a) Categorize the email (e.g. “Billing question” / “Product inquiry” / “Technical issue”) and/or (b) Draft an answer. For instance, you might prompt Kimi with: “This is a customer email: ‘{{Email Body}}’. Identify the issue type and draft a polite reply.” Kimi can then return something like: Category: Shipping Delay; Reply: “Hi {{name}}, sorry to hear your order is delayed… [etc.]”.
- Action: Filter or Conditional Logic (Optional) – You might add a condition: if Kimi’s category is “common issue” or the confidence is high, proceed to auto-reply; if it’s a complex issue, perhaps route it for manual review. (Zapier’s Path or Filter can split here, which requires a paid plan – more on that later.)
- Action: Send Email Reply – Using Gmail (or your helpdesk), Zapier sends an email back to the sender. It can use Kimi’s drafted response, perhaps with some dynamic fields (like their name or order number) merged in. The reply goes out within minutes of receiving the inquiry. Optionally, you could CC your support system or log the interaction in a spreadsheet.
Why it helps: Simple queries get near-instant answers, improving customer experience. Your team only needs to handle the exceptional cases. Over time, you can refine Kimi’s prompt to improve the quality of responses. This setup essentially gives you an AI-driven customer service rep available 24/7.
Example 3: New E-commerce Order → Kimi Description Generation → Google Sheet Entry
Use Case: When a new order comes in (from Shopify or another e-commerce platform), generate a custom description or summary of the order and record it in a spreadsheet (or database) for analysis.
Workflow:
- Trigger: New Order in Shopify – whenever a customer places an order on your online store, this Zap triggers. It pulls details like the products, customer notes, shipping info, etc.
- Action: Kimi Generates Order Summary/Description – Zapier sends the order data to Kimi with a prompt. For example: “Create a one-paragraph description of this order for our records, including what was purchased and any important customer notes: {{order data}}.” Kimi’s AI might return something like: “Order #1234: John Doe purchased 3 x Wireless Widget Pro, and 2 x Widget Mini in blue. Customer notes: gift wrap this item. Priority shipping requested. This is a high-value order from a repeat customer.”
- Action: Add Row in Google Sheets – The Zap writes a new row to a Google Sheets spreadsheet (or Airtable base) for your order log. It can include standard info (order ID, date, value) and a column for the AI-generated description from Kimi. Over time, this sheet becomes a rich dataset of orders with human-readable summaries. You might even share this sheet with other teams (like marketing or finance) who can quickly scan the AI notes instead of parsing raw order exports.
- (Optional) Action: Follow-up Workflow – You could extend this Zap further. For instance, if an order is high-value or has a special request (which Kimi can detect from notes), trigger another Zap or action: maybe send a Slack alert: “💰 Large Order Alert: {{customer name}} (${{order total}}) – needs gift wrap.” This would ensure VIP orders get special attention.
Why it helps: Instead of manually writing notes or scrutinizing each new order, you have an automated system that documents key order details and flags important aspects. This is great for operations – e.g. your fulfillment team can glance at the sheet each morning to see if any orders need extra care (gift wrapping, rush shipping), all thanks to Kimi’s summary. It also provides a more digestible record for analysis (you can easily review “what kind of orders are coming in?” by reading the descriptions). This workflow shows the power of combining data triggers with AI content generation in e-commerce.
These examples are just starting points. You can mix and match triggers, Kimi actions, and other app actions to fit your exact needs. The key pattern is: use Zapier triggers to listen for important events in your business, use Kimi AI to handle the thinking/writing in the middle, and then have Zapier output the results to wherever they need to go. In practice, it feels like having a tireless assistant: Zapier is the logistics manager moving info between apps, and Kimi is the analyst/copywriter making sense of that info along the way.
Pricing and Integration Considerations (Kimi + Zapier)
Before you dive in, it’s important to understand the pricing and limitations of using Kimi with Zapier. Here’s what to keep in mind to avoid surprises:
- Kimi AI Pricing (API & Usage Costs): One huge advantage of Kimi is its affordable pricing model. Kimi offers a generous free tier for basic use – you can have unlimited conversations with the AI assistant for $0, with full capabilities (including an enormous 2 million-character context window, ~128K tokens). The main limitation on free is slightly slower responses and a cap on output length (about 4,000 characters per reply). For heavier use and API access, Kimi has paid plans starting around $9–10/month (professional starter) which include a monthly token allotment and faster responses. Beyond that, Kimi’s pay-as-you-go API pricing is extremely low – roughly $0.15 per million input tokens and $2.50 per million output tokens. In practical terms, that means each API call costs only fractions of a cent (for context, 1 million tokens is hundreds of pages of text!). This undercuts most competing AI models’ costs, so you can scale your AI automation without breaking the bank. Bottom line: Kimi’s AI is very cost-effective, especially compared to something like OpenAI’s GPT-4 which can be 10–100× more per token. Most small-business workflows will incur just a few cents or dollars a month in Kimi API costs, even with heavy usage.
- Zapier Plan Requirements: While Kimi’s API is cheap, remember that Zapier itself may require a paid plan for the kind of multi-step, AI-enhanced workflows we described. Zapier’s free plan is great to experiment (it’s free forever for up to 100 tasks/month), but it only supports single-step Zaps – that is, one trigger and one action. The moment you have a Zap with multiple actions (or conditions/filters), you’re into “multi-step Zap” territory, which requires a paid Zapier plan. The Starter/Professional tier (around $19.99/month, often with a free 14-day trial) allows unlimited multi-step Zaps, premium apps, and integration features like Webhooks. In practice, if you want a workflow like “Trigger -> Kimi -> then another action,” that’s two actions and will need a paid plan. The good news is that Zapier’s entry-level paid plan is usually sufficient for most small business needs, including hundreds or thousands of tasks per month. If you’re planning on heavy automation across your team, the Team plan ($69/month+) allows more users and shared Zaps, and higher tiers offer advanced admin controls – but you can cross that bridge if you grow into it. Tip: start with the free trial of Professional to build your Kimi Zaps, and see the value before committing to a subscription.
- Connecting Kimi to Zapier (API Keys and Access): To use Kimi within Zapier, you’ll need to connect your Kimi account just like any other app. As of 2025, Kimi is available as an official Zapier app (“Kimiyi AI”), so the integration process is straightforward. When adding Kimi (Kimiyi AI) in Zapier, you’ll be prompted to enter your API credentials or authenticate. Typically, that means providing your Kimi API key (and possibly an Org ID) from your Kimi/Moonshot AI account. If you haven’t used Kimi’s API before, you may need to sign up for a developer plan or request an API token (Kimi’s free tier covers the web interface; the API might require at least the Starter plan or a trial). The Kimi documentation can guide you to find your API key on the dashboard – note that parts of the interface might be in Chinese, but guides are available. Once connected, Zapier will handle the API calls to Kimi for you whenever the Zap runs. One important limitation to note: if you were to use Kimi via Zapier Webhooks (a more manual method), Zapier imposes rate limits and requires a paid plan for Webhook steps. However, using the official Kimiyi AI integration likely bypasses the need for manual webhooks, simplifying things. Originally, before the official Zapier app existed, users had to use Webhooks to call Kimi’s API (which was more technical and required Premium Zapier) – but now it’s plug-and-play. Still, keep your API key secure and be mindful of any usage limits Kimi might have (e.g. if you’re on the free plan, very large outputs might be truncated, etc.). Overall, the integration is smooth: Zapier handles authentication and calls; you just configure the actions with the prompts or documents you want to send to Kimi.
- Task Usage and Volume Considerations: When automating heavily, watch your Zapier task counts and any API quotas. Each step in a Zap uses tasks – for example, every time a Zap runs and calls Kimi, that’s one task (plus another task for each additional action). Zapier’s free 100 tasks/month can be exhausted quickly if you, say, auto-reply to dozens of emails daily. Paid plans will offer higher task limits (Starter typically ~750 tasks/mo or more depending on level). Zapier will alert you if you approach your task limit. Similarly, Kimi’s free tier, while “unlimited”, may queue or slow responses if usage is excessive. If you plan on high volumes (thousands of AI calls), ensure you have an appropriate Kimi plan or budget for pay-as-you-go tokens (remember, even thousands of calls likely cost only a few dollars in tokens). Data size limits: Kimi’s hallmark is its ability to handle very large inputs (up to ~128K tokens of context). This means you can send whole documents or large datasets to it. However, from a practical standpoint, extremely large data might slow down response or occasionally hit timeouts. Zapier actions typically have a timeout (often around 30 seconds); if Kimi is analyzing a huge document, ensure it can respond within that. The vast majority of use cases (summaries, emails, small reports) will be fine. If you do need to process something massive (like a 100-page document), you might break it into chunks across multiple Zap runs, or use Kimi’s document-upload features outside Zapier. Finally, consider verification and fail-safes: have fallbacks if the AI call fails (Zapier lets you track errors). For mission-critical processes, you can log Kimi’s outputs to a sheet for review, or set up email alerts on certain triggers (like if Kimi doesn’t find an answer, etc.). These precautions ensure your “automated OS” runs reliably.
In summary, using Kimi with Zapier is both cost-effective and accessible. Kimi’s API won’t be a major cost factor thanks to its low pricing, and Zapier’s plans scale as you automate more (with a free trial to get started). Just make sure to choose the right Zapier plan once you go beyond single-step Zaps, secure your API keys, and monitor your task usage. With these logistics in check, you can focus on building out great workflows instead of worrying about the meter running.
Top Apps and Integrations to Prioritize
One of the best aspects of Zapier is the sheer number of apps you can connect – and with Kimi in your toolkit, you can add intelligence to workflows across almost any of them. That said, to maximize impact, it’s wise to start with the apps and ecosystems that matter most to businesses (and where automation + AI can save the most time). Below are some high-priority integrations to consider as you build your Kimi-powered automations. These apps represent a huge portion of common small/medium business workflows, and chances are you’re using several of them already:
Google Workspace (Docs, Sheets, Gmail): Use Kimi to supercharge your Google apps. For example, automatically summarize long Google Docs or meeting notes – whenever a doc is added to a certain Drive folder, Kimi can generate a summary and Zapier can email it to the team (or insert it at the top of the doc). In Sheets, you can have Kimi analyze data or even generate formulas: e.g. a Zap could take new form responses added to a Google Sheet, ask Kimi to categorize or extract insights, and then populate additional columns with the AI’s results. With Gmail, as we covered, Kimi can draft replies or categorize emails automatically. Google Calendar can also benefit: schedule descriptions or daily agenda summaries generated by Kimi and sent each morning. Given many teams live in Google Workspace, these integrations are a great starting point – you’ll turn Google’s productivity suite into a smarter, more automated system with minimal effort.
Slack (Team Chat): Keep your team in the loop with AI-generated updates and Q&A. Slack is perfect for receiving alerts and even triggering bots. You can have Zapier post Kimi’s outputs to Slack channels – like the lead summaries, order alerts, or project updates we described earlier. For instance, new CRM leads could be announced in #sales with a Kimi-composed brief, or every afternoon a Zap could trigger Kimi to compile “today’s customer support FAQs” and post it in #support. Another idea: use Slack slash commands or shortcuts to query Kimi on the fly (this might require a slightly custom setup). For example, a slash command /askkimi [question] could send that question to Kimi via a Zapier webhook and return the answer in Slack. This way, team members can leverage the AI assistant right from chat – like “/askkimi summarize the latest sales leads” and get an instant summary. Slack’s real-time nature combined with Kimi’s intelligence means your team can get information or content exactly when they need it, without leaving their conversation.
HubSpot, Salesforce, or Pipedrive (CRM systems): Automate customer relationship management with AI. We touched on CRM updates – Kimi can enrich data, write notes, and more. A few specific integrations: with HubSpot, you might auto-generate follow-up emails via HubSpot’s email sending action using text from Kimi (triggered when a lead moves to a certain stage). In Salesforce, perhaps use Kimi to auto-fill a “Summary” or “Next Steps” field on opportunity records based on call transcripts or notes added (Salesforce triggers when a note is added; Kimi summarizes the note; Zap updates the record). Pipedrive users could have Kimi evaluate deal descriptions or call logs and populate a “Deal Insights” custom field. The idea is that your CRM doesn’t just store data, but actively gets populated with intelligence. Every rep appreciates opening a contact and seeing a neat AI-generated blurb like “This lead is a CEO interested in X, likely needs pricing info”. It’s like equipping your CRM with a virtual analyst that makes your data more actionable.
Airtable (Databases/Spreadsheets): Use Kimi to make database entries smarter. Airtable’s flexibility plus Kimi’s AI is a potent combo. For example, if you use Airtable to track content or inventory, you could have a Zap where any new record triggers Kimi to generate additional fields: e.g. you add a product name and features, Kimi generates a catchy product description automatically and Zapier inserts it into a “Description” field. Or maintain an Airtable of support tickets – when a new ticket is logged, Kimi predicts the urgency or category and fills that in. Another example: for research or SEO, add a topic to Airtable and let Kimi fetch or generate relevant keywords or summaries. Airtable often serves as a central source of truth; with Zapier and Kimi, that source can auto-enrich itself with analysis and content, reducing manual data work.
Notion (Docs, Knowledge Base) & ClickUp (Project Management): Integrate AI into your knowledge hub and task system. Notion is often used for wikis, docs, and notes. Zapier can create or update Notion pages with Kimi outputs – for instance, automate meeting minutes: a form or calendar event triggers Kimi to draft meeting notes or summaries, which Zapier then adds as a new Notion page in your Knowledge Base. Or use Kimi to generate documentation: when a developer merges new code (trigger from GitHub), Zapier asks Kimi to write a user-friendly changelog, then posts it to a Notion changelog page. ClickUp and other task tools can benefit by having Kimi write task details, as mentioned. ClickUp in particular has an API Zapier can use to create docs or updates – one could imagine a Zap that takes weekly accomplishments (entered in a form by team members), has Kimi compile them into a single report, and then posts that report in a ClickUp Doc for the whole company to read. The priority with Notion and ClickUp is usually content – they store a lot of text, so let Kimi generate or summarize that text to keep your knowledge base fresh and your project notes concise.
Shopify (and E-commerce apps): Enhance e-commerce workflows and customer experience with AI. We saw how you can summarize orders with Kimi. You can also automate product content generation – e.g. when you add a new product in Shopify (or WooCommerce, etc.), trigger Kimi to write the product description or SEO meta description, then have Zapier update the product listing with that text. Many small retailers spend time writing product copy; here you can get a first draft in seconds. Another idea is personalized marketing: when an order is marked as delivered, trigger Kimi to draft a personalized follow-up email (“Hi John, we hope you’re loving [product]; here’s some tips…”) and have Zapier send it via your email app. If you use Shopify + Slack, maybe have Kimi generate a brief “sales report” each day (taking total orders and products sold as input) and post it to Slack so the team knows what’s hot. Inventory or FAQ bots: if customers often ask about products, you could integrate Kimi with your chat widget to answer (via Zapier when a new chat question comes in). The key is that e-commerce has a lot of repetitive text (product info, customer emails, ads) – automation with AI ensures consistency and frees you to focus on strategy and sales.
Of course, these are just a few of the 8000+ apps on Zapier’s platform. The general approach is: look at the apps you use most, identify where you do a lot of typing, reading, or decision-making, and consider inserting Kimi’s AI there via Zapier. Whether it’s generating a report in Google Slides, categorizing Zendesk tickets, or translating content for a Shopify international store, chances are you can build a Kimi-powered Zap for it. Start with the high-impact areas above for quick wins. Once you see the efficiency gains (and your team gets comfortable with AI in the loop), you can expand to automate more corners of your business.
Conclusion: Building Your No-Code Business OS
Kimi + Zapier together offer a business-technical power-up that can transform how you operate. We began this journey with the idea of a fully automated workflow – a business operating system run on no-code tools. By now, you should have a clear sense of how achievable that is today. You’ve seen how a small business owner or freelancer, without writing any code, can string together apps like Gmail, Slack, HubSpot, Google Docs, and Shopify, and have Kimi AI do the heavy thinking in between – writing content, summarizing data, making decisions. The technology is accessible: Zapier provides the glue, and Kimi provides the brains.
A few parting thoughts and best practices as you embark on automating your work:
Start Small & Build Confidence: Pick one or two use cases that eat up a lot of your time (maybe it’s responding to inquiries or generating weekly reports). Implement a Kimi+Zapier solution for those first. Monitor the outputs, tweak the prompts, and make sure it’s reliable. As you gain trust in the process, you’ll feel more comfortable automating additional workflows. Success with a small automation will also get your team on board when they see the time saved.
Leverage Templates and Community: You’re not alone in this – many have built similar workflows. Zapier’s library has pre-built templates involving Kimi (often listed under “Kimiyi AI”), so use those as starting points. For example, the Facebook Messenger auto-reply workflow was available as a template, ready to try in a few clicks. You can find templates for things like “Summarize new documents with Kimi” or “Use Kimi AI to reply to [app] messages.” They’ll give you a premade Zap blueprint that you can customize. Additionally, communities (Zapier forums, Kimi user groups) are great places to ask questions or get inspiration. Chances are, someone has attempted something similar to what you want to do.
Maintain a Human Touch: While we celebrate automation, remember the goal is to augment, not replace, your human judgment and creativity. Use Kimi’s outputs as a draft or assistant’s suggestion, especially early on. You might still review important emails before they go out, or read Kimi’s summary of a document to ensure it captures the nuance. Over time, you might let the AI handle things end-to-end for routine stuff – but always keep an eye on quality. Also, be transparent (internally) that you’re using AI; it helps team members trust the content if they know it’s machine-generated and reviewed by someone.
Iterate and Improve: Treat your automated workflows as living processes. As your business changes, update the Zaps and Kimi prompts. Maybe you add a new product line – update the email reply prompt to incorporate those topics. Or if you find Kimi sometimes gives a certain type of error, adjust the workflow (like add a condition or a different prompt format). The no-code nature means you can tweak and extend anytime. Make use of Zapier’s logs and Kimi’s responses to continuously refine the performance. Over weeks and months, your “business OS” will get smarter and more tailored to you.
In conclusion, the partnership of a no-code automation platform with an advanced AI assistant is a game-changer for productivity. You can eliminate drudgery, respond faster, and operate at a scale that would normally require additional staff – all with tools that are at your fingertips today. Automating your entire workflow with Kimi + Zapier isn’t just a catchy idea; it’s an achievable strategy that forward-thinking businesses are already embracing. With careful setup and the guidance from this article, you’re ready to build a smarter, automated future for your own work. Happy automating!
